When designing a hard sided case solution, most designers start with basic functionality – case size, protecting the parts, wheels or no wheels, and so forth. It makes sense to start here, as these functional parameters are most critical and need to be addressed adequately.
However, there is an additional aspect of your packaging solution that is just as critical – appearance. The visual components of the case can be under-considered or even overlooked. Yet, the visual aspects of the case can serve important, even critical, needs that make them just as functional as foam cushioning or wheels.
#1 Case Color
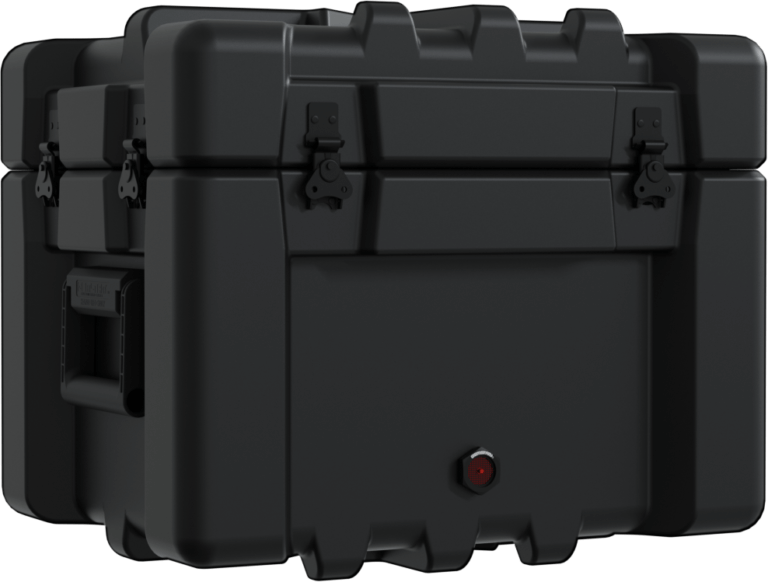
The color of the case can communicate volumes. The most common case color is black, because that is what most manufacturers stock as standard. When a case is any other color, it is already differentiated from the majority of hard cases out there. A colored case can serve important functions, whether making it stand out, camouflaging it, or expressing something about the service or products inside the case.

For military applications, colors are mission-critical. Desert tan and olive drab match the environment in which they are deployed, and matte black hardware minimizes reflective surfaces. When a case needs to stand out – such as with safety products – yellow and orange are typically used.
Colors can be used to extend the brand expression of the parts or services deployed through the case. Using a brand color can help identify the product with your company. Though you may be using a standard case model, having it made in your company colors make the case an extension of your brand.
How to do it: Depending on how the case is manufactured and the color, custom colored cases can have high minimum purchases and additional costs. Also, matching to a specific Pantone or color sample will take time. This means long lead times. If your quantities don’t warrant a custom run, or your timeline is too tight, find out what standard colors might be available. Some case companies have multiple options for standard colors that can fulfill the function you need without the hassle of a completely custom run.
#2: Labeling
Labeling is much more than shipping destinations or a product name. Labels serve a variety of functions – they can offer instructions for handling the case, provide part identification, and show a logo for branding purposes. There are countless options for labeling a case, both inside and out, that will meet both the needs of the message and the aesthetics.
Labels can serve important functions for case handling. A very large case can benefit from “Fork Here” or “This End Up” markings if it’s going to be moved by a forklift. Or, if a case has a completely removable lid, alignment arrows can help to make sure the lid is put on correctly. For the inside of a case, if a part can only go into the foam or other cushioning option in one orientation, labeling to can help to prevent damage to the part or foam set.
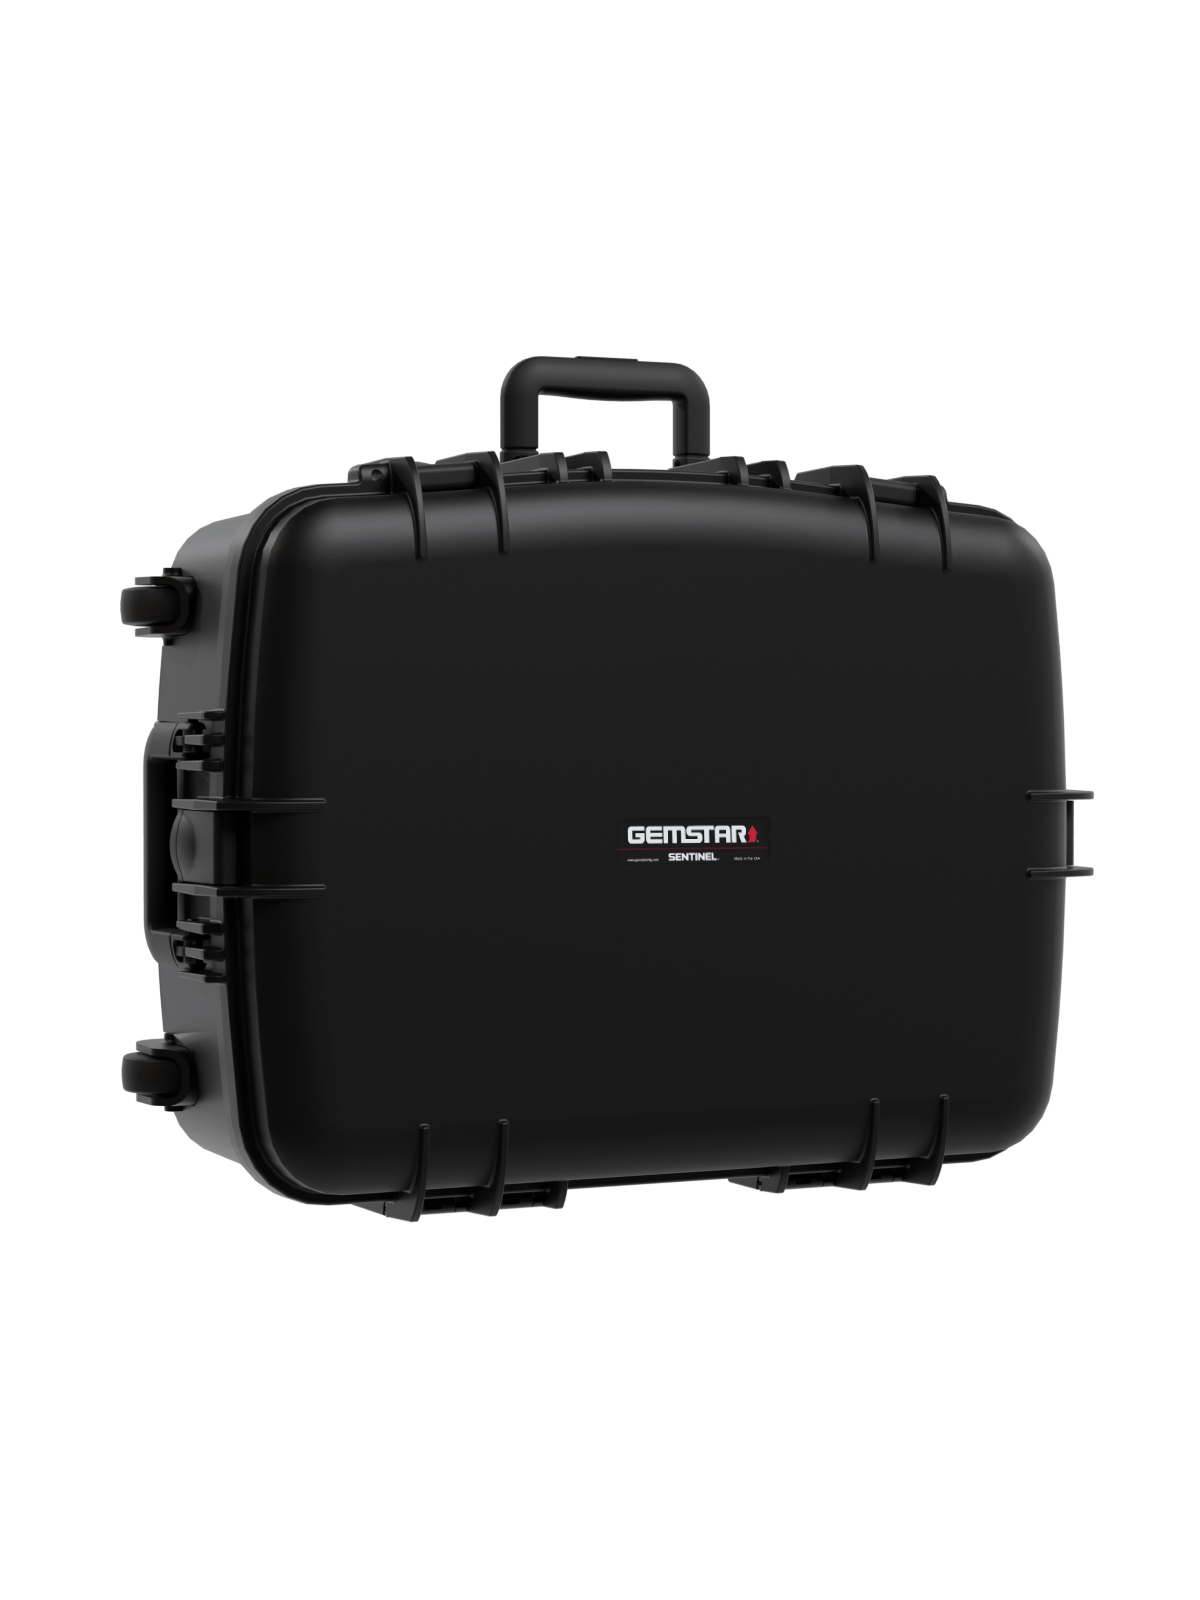
Brand logos should also be considered for your hard case. This is for more than just identification. A properly placed logo, using the right method for a cosmetic appearance, will tie the case to your brand. Remember – the case is an extension of your product and should represent your product accordingly.

How to do it:
There are countless labeling processes, and certain ones are better suited for different applications than others. When considering labeling options with your custom case provider, make sure to explain the purpose of the message as well as the content and ask for suggestions on how to achieve this. If it is a highly cosmetic message, like a logo, some manufacturing processes are better than others, such as a vinyl printed graphic or mold-in graphic. If cosmetics are less important but durability is key, stenciling can be a great option. If you plan on adding an adhesive label yourself, make sure to discuss with your case partner. Not all adhesives are appropriate for plastic, and some may require you to prep the surface with heat or chemicals. You may end up with a peeling or lost graphic if you don’t spec the right material or use the right surface prep. An experienced case partner should be able to guide you through selecting the right labeling options and make suggestions for labeling you may not have considered, based upon your application.
#3: Internal Case Layout
The first goal for the case is be to protect the parts. After that is ensured, a complete case solution should also address the visual layout inside. Attention to the appearance of the parts in the case can greatly enhance the case function. Case appearance conveys the value proposition of the case kit. An organized internal layout will speak volumes about your own products and services.

When deciding on the interior case layout, visual part management is an important consideration. Consider these questions: Does a part need to have a certain area facing up for identification? How will the user know which parts go where when they need to return them to the case? If the parts only go in the case a certain way, how can visual cues be used to make this obvious? If there is a need for a miscellaneous cavity to hold cords and other small robust peripherals, can it be located beneath another part, or contained in a pouch, or a hinged compartment? The storage solution should be user friendly but having a big open cavity with a jumble of items won’t look the best. When space allows, consider designing individual cavities for items, even if they don’t need that level of protection. The layout will look more organized as a result.
How to do it: Always start with making sure that the parts will get the right protection based upon their fragility. After that, make sure to take the time to consider the appearance of the layout. Consider labeling individual cavities, either next to the cavities or underneath so that it’s visible when parts are